
How to Apply KT (Kinesiology) Tape for Osgood Schlatter: Step-by-Step Guide
Learn the correct way to apply KT tape for Osgood Schlatter Disease. Step-by-step guide with video tutorial, expert tips, and common mistakes to avoid.

Quick Reference Guide:
- Preparation time: 5 minutes
- Difficulty: Easy
- Duration: 3–5 days per application
- Materials needed: KT tape, scissors, clean towel
Not sure which tape to use? Check out our guide to the best tape for Osgood Schlatter Disease →
Getting the most benefit from KT tape for Osgood Schlatter Disease comes down to one crucial factor: proper application. Even the best tape won’t help if it’s not applied correctly, and poor application can actually make your symptoms worse.
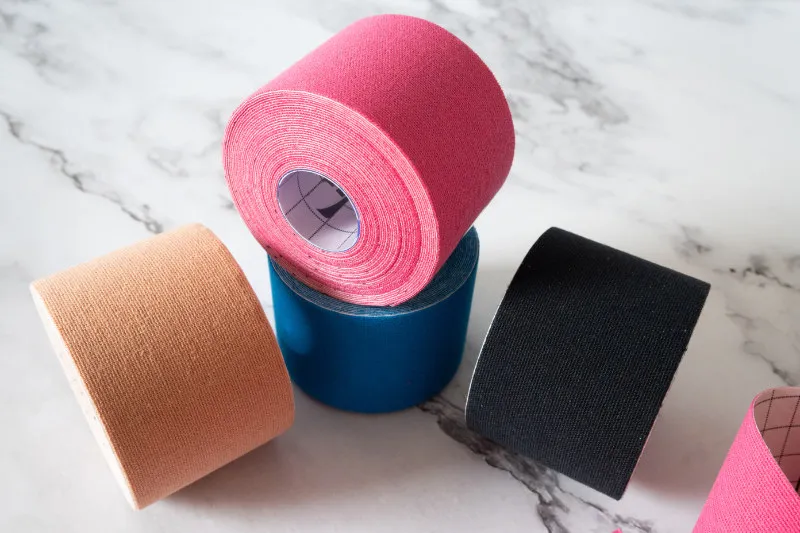
As a strength and conditioning coach working with young athletes, I’ve refined our taping technique through years of practical experience. While KT tape isn’t a cure for Osgood Schlatter Disease, when applied correctly, it can provide valuable support during activity and help manage symptoms.
In this step-by-step guide, I’ll show you exactly how to apply KT tape for maximum benefit, including our proven “U-shape” technique that has helped hundreds of athletes manage their Osgood Schlatter symptoms. Whether you’re new to KT tape or looking to improve your taping technique, you’ll find clear instructions and practical tips you can implement right away.
Preparing Your Knee for Taping
Proper preparation is essential for successful KT tape application. Poor skin preparation is the number one reason tape fails to stick or peels off prematurely. Take time to properly prepare your skin before applying tape – these extra few minutes will ensure your tape stays secure for days rather than hours.
Osgood Schlatter Tape Placement
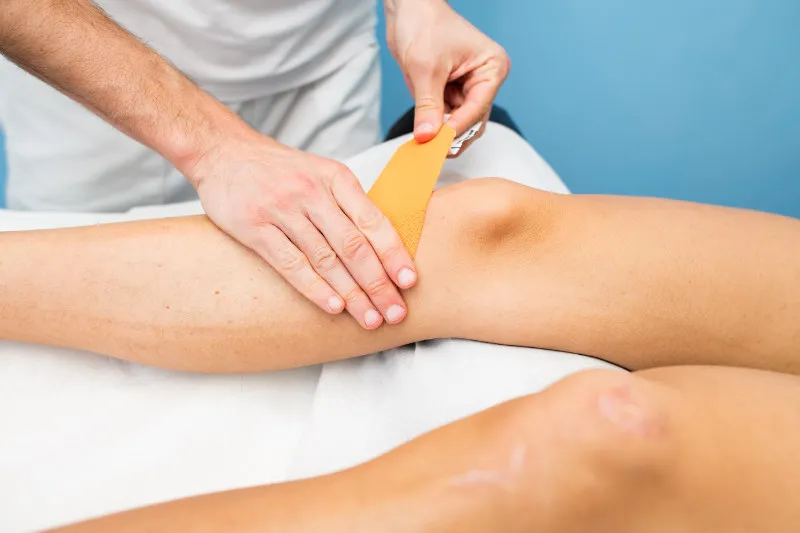
The correct placement of KT tape for Osgood Schlatter Disease follows a specific “U-shape” pattern around the knee. This placement is designed to support the patellar tendon without putting direct pressure on the painful bump below your kneecap. The tape should wrap under your kneecap, with anchor points on either side of your knee.
Osgood Schlatter Taping Technique
Our preferred method uses a single strip of tape applied in a U-shape formation. This technique provides gentle support while maintaining full range of motion in your knee. The key to success lies in using the right amount of stretch – too much will cause the tape to pull off quickly, while too little won’t provide adequate support.
Step-by-Step Application Guide for Osgood Schlatters
This short video shows a simple U-shape application for a single piece of KT tape on the knee.
- Measure and cut tape
- Cut a strip approximately 5–7 inches (13–18 cm) long
- Round all corners to prevent peeling
- Set aside additional strips if needed
- Position your knee
- Sit with your knee bent at 90 degrees
- Clean the area with soap and water
- Ensure skin is completely dry
- Remove any lotions or oils
- Trim or shave excess hair if needed
- Apply first anchor point
- Start on the inside of your knee
- Apply first 1–2 inches with zero stretch
- Press firmly to secure the anchor
- Ensure no wrinkles in the tape
- Create U-shape support
- Hold the first anchor in place
- Apply 50–60% stretch to middle section
- Wrap under the kneecap in a U formation
- Avoid placing tape directly on the painful bump
- Maintain even tension throughout
- Secure final anchor
- Release tension for the final 1–2 inches
- Apply with zero stretch on outside of knee
- Press firmly to secure
- Ensure no wrinkles or bubbles
- Activate adhesive
- Rub the entire length of tape vigorously
- Pay special attention to the anchor points
- Check for any loose edges
- Wait 15 minutes before activity
Frequently Asked Questions About KT Taping
Will tape cure my Osgood Schlatter Disease?
No, KT tape alone won’t cure Osgood Schlatter Disease. While it can help manage symptoms and make activities more comfortable, tape primarily works by improving movement awareness and providing gentle support. True recovery requires addressing the underlying causes through proper strengthening, flexibility work, and load management.
Many athletes make the mistake of relying solely on tape to mask their symptoms while continuing high-intensity training. This approach often leads to prolonged recovery times and potentially worse symptoms in the long run.
For the best results, use KT tape as part of a comprehensive treatment approach that includes:
- Progressive strength training
- Proper movement mechanics
- Smart activity modification
- Adequate recovery time
How long can I wear KT tape?
Most athletes can wear KT tape for 3–5 days per application. Take a 24-hour break between applications to let your skin breathe. During breaks, consider using a knee brace for additional support if needed.
Can I shower or swim with KT tape?
Yes, quality KT tape is water-resistant. However, pat the tape dry after water exposure and avoid rubbing it with a towel, which can cause the edges to peel.
Is it normal for my skin to feel itchy under the tape?
Mild itching when first applying tape is normal. However, if you experience significant irritation, redness, or increased pain, remove the tape immediately.
How much stretch should I use in the tape?
Less is more with KT tape. Use zero stretch at the anchor points and only 50–60% stretch across the middle section. Overstretching is the most common cause of tape failure.
Can I reuse KT tape?
No, KT tape is single-use only. Once removed, the adhesive won’t be strong enough to provide proper support. If you are looking for a reusable solution, a knee brace or Velcro strap might be more suitable.
Check out our guide to knee braces and straps for Osgood here →
Troubleshooting Common Taping Issues
Tape peeling off too quickly
Problem: Tape doesn’t stay on for more than a day. Solution: Ensure skin is completely clean and dry before application. Use rubbing alcohol to remove oils if needed. Always apply anchor points with zero stretch.
Skin irritation or rashes
Problem: Red, itchy, or irritated skin under tape. Solution: Try a different brand of tape designed for sensitive skin. Ensure you’re not stretching the tape too much and always take 24-hour breaks between applications.
Tape not providing enough support
Problem: Still experiencing discomfort despite taping. Solution: Check your technique – ensure proper U-shape placement and moderate stretch in the middle section. Consider combining with a knee brace for high-impact activities.
Tape bubbling or wrinkling
Problem: Tape not lying flat against skin. Solution: Apply tape with knee bent at 90 degrees. Smooth out any wrinkles immediately and ensure strong activation of the adhesive by rubbing thoroughly.
Taking the Next Step in Your Recovery
While proper taping can help manage Osgood Schlatter symptoms, it’s just one piece of the recovery puzzle. The key to long-term improvement lies in addressing the underlying causes of your condition through proper strengthening, movement training, and load management.
Our Core Advantage Osgood Schlatter Treatment Program combines all these elements into a comprehensive 7-week plan that has helped thousands of young athletes return to sport stronger than before. We’ll show you exactly how to:
- Build strength in the right areas
- Improve movement patterns
- Manage training loads effectively
- Integrate tools like KT tape strategically
Learn more about the Core Advantage Osgood Schlatter Program here →
Keep reading


Ready to fix the cause, not just the pain?
Join 6,000+ families who chose recovery over rest. Backed by our 100% money-back guarantee.
Start the program — $120


